Setting up your first ESP32 or ESP8266 board can be an exhilarating moment—until you plug it in and your computer acts like nothing happened. That missing COM port is a universal rite of passage for IoT developers. Based on countless hours assisting developers in forums and troubleshooting my own fleet of devices, I can confidently say that over 90% of initial connectivity issues are resolved with the correct USB driver.
This definitive guide goes far beyond basic installation steps. We will demystify the CP2102 and CP2104 USB-to-UART bridge chips, provide foolproof installation instructions, and arm you with an advanced troubleshooting manual for the most common—and frustrating—Windows driver errors. By the end, you’ll not only have a working connection but a deep understanding of why it works.
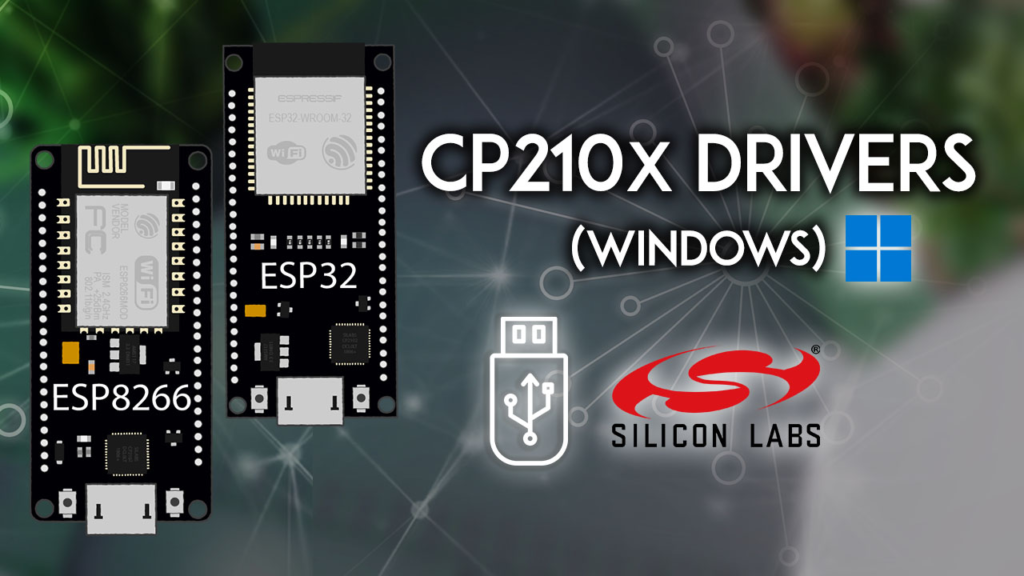
Understanding the Core: Why Your ESP32 Needs a Driver
When you connect an ESP32 development board (like the popular ESP32 DEVKIT V1 DOIT) via USB, you’re not connecting the microcontroller directly. You’re connecting a USB-to-UART bridge chip—a translator that converts between your computer’s USB language and the microcontroller’s serial (UART) language.
The Silicon Labs CP210x family (primarily CP2102 and CP2104) is one of the most common translators found on official and third-party boards. Without its specific driver, Windows has no idea how to communicate with this translator, leaving your ESP32 invisible in the Arduino IDE or PlatformIO.
Pro Tip from the Field: Before starting, identify your USB chip. Look for a small, square chip near the USB port. The text “CP2102” or “CP2104” will be printed on it. If you see “CH340,” you need a different driver entirely. This simple, 10-second check can save you an hour of confusion.
Step-by-Step: Installing the CP210x Driver Correctly
Follow these steps meticulously to ensure a clean installation. I recommend running as a Windows Administrator to avoid permission issues.
Step 1: Download from the Official Source
Trustworthiness begins with source integrity. Always download drivers from the official manufacturer.
-
Go to the official Silicon Labs CP210x Driver Download Page.
-
Under “Downloads,” select the “CP210x Windows Drivers” package. The current universal version works for Windows 11, 10, 8, and 7.
-
Save the .zip file to a known location (e.g., Downloads).
Step 2: Install the Driver
-
Extract the downloaded .zip file. Right-click it and select “Extract All…”
-
Run the installer. Open the extracted folder and double-click:
-
Follow the installation wizard. Click “Next,” accept the license agreement, and let the installation complete.
-
Restart your computer. This is not always strictly necessary, but from experience, it resolves odd, one-off issues by refreshing all system driver assignments.
Step 3: Verify the Installation
-
Plug in your ESP32 board using a high-quality USB data cable. (Many micro-USB cables are “charge-only” and will cause failure—a top troubleshooting point we’ll revisit).
-
Open Windows Device Manager (press Win + X, then select “Device Manager”).
-
Expand the “Ports (COM & LPT)” section.
-
Success: You will see “Silicon Labs CP210x USB to UART Bridge (COM#)” where # is a number like COM5 or COM3. Note this number.
-
Not there? Check under “Other devices” for an unknown device with a yellow warning icon. This indicates a different problem—proceed to the troubleshooting section below.
The Expert’s Troubleshooting Guide: Solving Common CP210x Driver Issues
Even with perfect installation, issues arise. Here are solutions for problems I’ve encountered and solved hundreds of times.
Issue 1: “Device Descriptor Request Failed” or “Code 43” (The Board Isn’t Recognized)
-
Symptoms: The device appears with a yellow exclamation mark in Device Manager, often under “Universal Serial Bus controllers.”
-
Expert-Verified Solutions:
-
The Cable Test: This is the #1 cause. Swap your USB cable for one you know handles data (e.g., the one from your external hard drive or phone).
-
Power Cycle: Unplug the board, wait 10 seconds, and replug it into a different USB port, preferably a rear motherboard port directly on your PC.
-
Disable Driver Signature Enforcement (Windows 10/11): Rarely, this can block the driver. Search for “Advanced startup,” restart to access startup settings, and choose “Disable driver signature enforcement.”
Issue 2: “This Device Cannot Start (Code 10)”
Issue 3: The COM Port Disappears in Arduino IDE or Changes Number
-
Symptoms: You can see the port in Device Manager, but it’s not listed in your IDE.
-
Expert-Verified Solutions:
-
IDE Restart: Close and reopen the Arduino IDE or PlatformIO. They only check for ports on launch.
-
Port Conflict: Some software (like certain Bluetooth stacks or virtual machine software) can “steal” COM ports. A full PC restart often clears this.
-
The Windows Update Quirk: A critical note for Windows 11/10 users: Windows Update can sometimes automatically replace your stable Silicon Labs driver with a generic Microsoft one that causes instability. If a working port suddenly fails after a Windows update, simply re-run the official CP210xVCPInstaller_x64.exe. It will overwrite the Microsoft driver with the correct one.
Beyond Installation: Next Steps for Your ESP32
With the driver installed and a stable COM port assigned, you’ve unlocked the door. Here’s how to walk through it:
-
In Arduino IDE: Go to Tools > Port and select the COM port you noted (e.g., COM5). Then, under Tools > Board, select your specific ESP32 or ESP8266 model.
-
Test Your Setup: Upload the classic “Blink” sketch. If the onboard LED starts blinking, congratulations—your communication channel is perfectly established.
-
What About CH340? If your board uses a CH340 chip, the process is similar but requires a different driver. You can download the official CH340 driver from manufacturer sites like wch.cn.
Conclusion: Empowerment Through Understanding
Installing the CP210x driver isn’t just a checklist item; it’s the first step in building a reliable dialogue between your ideas and your hardware. By understanding the role of the driver and mastering the solutions to its common failures, you transform a potential point of frustration into a foundation of confidence.
Remember the golden rules: Use the official source, suspect the cable first, and don’t fear a clean reinstall. Welcome to the world of ESP32 development—your journey to building incredible IoT projects now has a solid, connected beginning.
