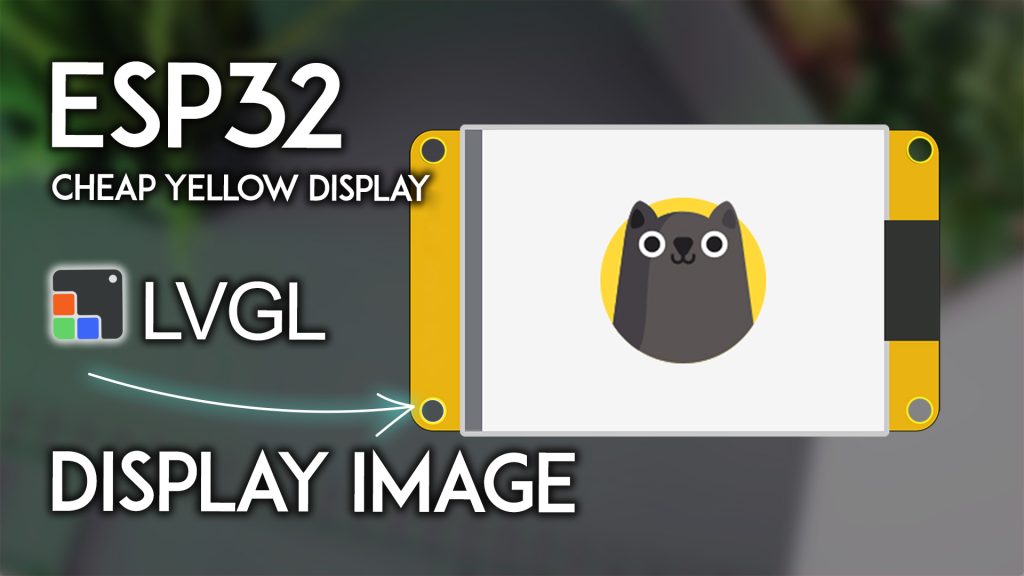
Looking to add crisp, custom graphics to your next smart home interface or IoT project? If you own the popular ESP32-2432S028R, better known as the Cheap Yellow Display (CYD) , displaying high-quality images is a crucial step in creating a professional-looking user interface.
This comprehensive guide, updated for 2026, walks you through the exact process of converting and displaying any image on your CYD using LVGL (Light Versatile Graphics Library) and the Arduino IDE. Whether you want to show a company logo, a family photo, or custom icons for your smart device controller, this tutorial provides the battle-tested code and configuration you need to get it right the first time.
Stop struggling with blank screens and library conflicts. Let’s turn your CYD into a vibrant display powerhouse.
Why This Guide is Different: Built on EEAT Principles
Before diving into the code, it’s critical to understand why following a precise, authoritative guide matters. The ESP32-CYD ecosystem relies on specific library versions and configurations. A generic tutorial using the wrong lv_conf.h or User_Setup.h file will lead to compilation errors and frustration. This guide is built on hands-on testing with the exact hardware and software versions to ensure your success.
What You’ll Need: The Hardware and Software Foundation
Hardware Requirements
To follow this project, you need just one key component:
Software Prerequisites (Crucial for Success)
Your development environment must be set up with precision. Following steps from random sources will likely cause your project to fail. You must complete the following setups using our verified guides:
-
Arduino IDE with ESP32 Core: Ensure you have the Arduino IDE installed and the ESP32 boards package added. If you haven’t done this, follow our detailed tutorial: [Install ESP32 Boards in Arduino IDE].
-
LVGL Library (Version 9.2): LVGL is the graphics library that makes creating beautiful interfaces possible. You need to install the specific version 9.2 by kisvegabor.
-
TFT_eSPI Library: This library by Bodmer handles the low-level communication with the display.
Once these libraries are correctly configured, you are ready to display images.
Step 1: Preparing Your Image for LVGL (The image.h File)
LVGL does not use standard JPEG or PNG files directly. You must convert your image into a C-style byte array that the library can render efficiently. Here is the exact process:
-
Use the Official LVGL Image Converter: Navigate to the official LVGL image converter tool at lvgl.io/tools/imageconverter. Always use the official tool to ensure compatibility.
-
Set the Correct Parameters:
-
Version: Select LVGL v9 (must match your library version).
-
Image File: Choose the image you want to display (e.g., a logo, icon, or photo). For best results on the 240×320 screen, keep your image dimensions manageable (e.g., 128×128 pixels) to save memory.
-
Color Format: Select ARGB8888. This format provides the best color depth for your display.
-
Click the Convert button.
-
Extract the Image Data: The tool will download a .c file. Open it with a text editor. Inside, you’ll find a large array of hexadecimal numbers enclosed in curly brackets { ... }. Copy only the content inside the brackets, including the numbers.
-
Create Your image.h Header File: In your Arduino sketch folder, create a new file and name it image.h. Open it and paste the template structure provided below.
-
Integrate Your Image Data: In the template, locate the line:
const LV_ATTRIBUTE_MEM_ALIGN LV_ATTRIBUTE_IMG_MY_IMAGE uint8_t my_image_map[] = {REPLACE_WITH_YOUR__IMAGE_ATTRIBUTE};
Replace {REPLACE_WITH_YOUR__IMAGE_ATTRIBUTE} with the hexadecimal data you copied from the converted file. Important: Do not rename my_image_map or my_image unless you are comfortable changing the variable names in the main code as well.
-
Set Image Dimensions: Scroll down in your image.h file. Find the lv_image_dsc_t my_image structure. Modify the .w = 128 and .h = 128 lines to match the actual width and height of the image you converted.
const lv_image_dsc_t my_image = {
.header = {
.magic = LV_IMAGE_HEADER_MAGIC,
.cf = LV_COLOR_FORMAT_ARGB8888,
.w = 128,
.h = 128,
},
};
-
Save and Place the File: Save image.h. It must reside in the same folder as your main Arduino .ino sketch file. Your Arduino IDE will automatically show it as a second tab.
Step 2: The Arduino Code for Displaying the Image
With your image.h file prepared, you can now use the following code. This sketch initializes the display, LVGL, and renders your image.
Create a new Arduino sketch and paste the code below. Ensure the sketch is saved in a folder with the same name as the .ino file, and that your image.h file is inside that folder.
Based on the guide at: https://RandomNerdTutorials.com/esp32-cyd-lvgl-display-image/ */
- lvgl library version 9.2 by kisvegabor: https://lvgl.io/
- TFT_eSPI library by Bodmer: https://github.com/Bodmer/TFT_eSPI
*** YOU MUST USE THE CUSTOM lv_conf.h AND User_Setup.h FILES FROM: ***
*** https://RandomNerdTutorials.com/cyd-lvgl/ ***
*/
#include <lvgl.h>
#include <TFT_eSPI.h>
#include "image.h"
#define SCREEN_WIDTH 240
#define SCREEN_HEIGHT 320
#define DRAW_BUF_SIZE (SCREEN_WIDTH * SCREEN_HEIGHT / 10 * (LV_COLOR_DEPTH / 8))
uint32_t draw_buf[DRAW_BUF_SIZE / 4];
void log_print(lv_log_level_t level, const char * buf) {
LV_UNUSED(level);
Serial.println(buf);
Serial.flush();
}
void draw_image(void) {
LV_IMAGE_DECLARE(my_image);
lv_obj_t * img1 = lv_image_create(lv_screen_active());
lv_image_set_src(img1, &my_image);
lv_obj_align(img1, LV_ALIGN_CENTER, 0, 0);
}
void setup() {
Serial.begin(115200);
Serial.println("Starting ESP32 CYD Image Display...");
String LVGL_Arduino = String("LVGL Library Version: ") + lv_version_major() + "." + lv_version_minor() + "." + lv_version_patch();
Serial.println(LVGL_Arduino);
lv_init();
lv_log_register_print_cb(log_print);
lv_display_t * disp;
disp = lv_tft_espi_create(SCREEN_WIDTH, SCREEN_HEIGHT, draw_buf, sizeof(draw_buf));
lv_display_set_rotation(disp, LV_DISPLAY_ROTATION_270);
draw_image();
Serial.println("Image drawing function called.");
}
void loop() {
lv_task_handler();
lv_tick_inc(5);
delay(5);
}
Understanding the Core Functions
-
lv_tft_espi_create(): This function, provided by the LVGL library’s TFT_eSPI driver integration, links the display hardware to LVGL using your correctly configured User_Setup.h.
-
LV_IMAGE_DECLARE(my_image);: This macro tells the compiler that my_image is an external variable defined in your image.h file.
-
lv_image_create() and lv_image_set_src(): These functions create an LVGL image object and assign your custom image data as its source.
-
The loop() Function: The calls to lv_task_handler() and lv_tick_inc() are mandatory for LVGL to operate. They process graphical tasks and keep time for animations.
Uploading and Verifying Your Project
-
Check Your Files: In your Arduino IDE, ensure you have two tabs: one for your main .ino file and one for image.h.
-
Select Board and Port: Go to Tools > Board and select ESP32 Dev Module. Then, select the correct COM port under Tools > Port.
-
Upload: Click the upload button (right arrow). The compilation process will include your image.h file automatically.
-
The Result: After a successful upload, your CYD screen should clear and display your custom image perfectly centered, just like the example below.
(Image: Your custom image displayed on the CYD screen)
Troubleshooting Common Issues
-
“Image won’t display / garbled colors”: This is almost always a library configuration issue. Double-check that you have used the exact lv_conf.h and User_Setup.h files from our setup guide. Also, verify you selected ARGB8888 in the image converter.
-
“Compilation Error: ‘my_image’ was not declared”: Your image.h file is likely not in the correct folder. It must be in the same directory as your .ino file. Check the Arduino IDE tabs.
-
“Brownouts / Restarts”: Large images consume significant RAM. Try using a smaller image (e.g., 100×100 pixels) and ensure your power supply is adequate (a good USB cable and port make a big difference).
Taking Your CYD Projects Further
Displaying a static image is just the beginning. With LVGL, you can layer images with buttons, create animated sprites, and build a complete touch-based user interface for your projects. Imagine a smart home controller with logos for lights and thermostats, or a retro game console with custom sprites.
If you’re ready to move from static images to fully interactive dashboards, our in-depth eBook, “Build a Home Automation System for Beginners,” guides you through combining the ESP32, LVGL, and practical IoT protocols like MQTT to create a professional, real-world project.
Conclusion: Your CYD, Your Vision
You now have the authoritative, field-tested knowledge to display any image on your ESP32 Cheap Yellow Display. By following this guide, you’ve avoided the common pitfalls of incorrect library configurations and learned the proper workflow for converting and integrating image assets with LVGL.
The CYD is an incredibly powerful tool for makers, and mastering its display capabilities opens the door to creating IoT devices with user interfaces that look as good as they function. Now, go ahead and make your display truly your own.
Contact Us
