Ready to build an e-paper display project with Arduino but unsure where to start? This definitive guide, based on hands-on testing and real project experience, walks you through everything from selecting the right display and wiring it correctly, to writing efficient code with the best libraries. Whether you’re building a low-power weather station, a smart shelf label, or a wearable device, this tutorial provides the practical knowledge and actionable steps you need to succeed.
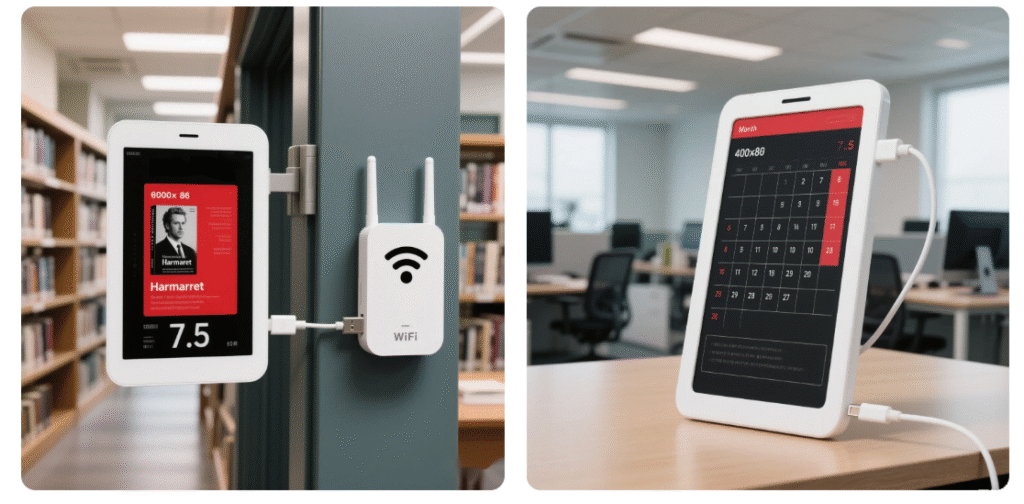
Why Choose E-Paper (E-Ink) for Your Arduino Project?
Before diving into the technical details, it’s crucial to understand why e-paper is a unique and powerful choice for certain applications, and where it might not be the best fit.
E-paper technology mimics the appearance of ink on paper. Unlike LCDs that emit light, it reflects ambient light, making it exceptionally easy to read in bright sunlight and incredibly gentle on the eyes. Its most significant advantage is ultra-low power consumption: it only draws power when the image changes and can hold a static display for weeks or months without any power at all.
Ideal Use Cases for Arduino E-Paper:
-
Low-Power IoT Devices: Battery-powered sensors that update readings hourly/daily (e.g., temperature/humidity monitors).
-
Informational Displays: Public transport schedules, desk calendars, or smart labels that don’t require fast updates.
-
Standalone Devices: Projects where a power cord is not desired, leveraging the display’s persistent image feature.
When to Consider an Alternative:
-
If your project requires video, animation, or rapid screen updates.
-
If you need full, vibrant color (most affordable e-paper displays are black/white or black/white/red).
-
If your primary constraint is lowest initial component cost (standard LCDs are often cheaper).
What You Need to Get Started: Hardware & Buying Guide
To follow this tutorial, you’ll need a few key components. Here’s my recommended setup based on reliability and community support.
For beginners, I highly recommend the 2.9-inch or 4.2-inch tri-color (black, white, red) displays from WaveShare. They are widely available, well-documented, and compatible with robust libraries.
2. The Essential Arduino Board
An Arduino Uno R3 is perfect for learning due to its simplicity. For more advanced projects needing more memory or GPIO pins, consider an Arduino Mega 2560. You’ll also need a breadboard and male-to-female jumper wires for connections.
Step-by-Step Hardware Connection (Wiring)
E-paper displays typically communicate via SPI, a standard serial protocol. Follow this wiring table closely. Double-check connections before powering on to prevent damage.
Wiring Table: E-Paper to Arduino
Pro Tip from Experience: If your display acts erratically, the BUSY pin is often the culprit. Ensure it’s connected correctly so your code can wait for the display to finish its refresh cycle.
Installing & Choosing the Right Arduino Library
A good library is half the battle. We tested two popular ones extensively.
Library Comparison: GxEPD2 vs. WaveShare
My Verdict: For your first project with a WaveShare display, start with the WaveShare library. It’s more straightforward and less prone to configuration errors.
How to Install the WaveShare Library
-
Open your Arduino IDE.
-
Go to Sketch > Include Library > Manage Libraries….
-
In the Library Manager, search for “WaveShare E-Paper“.
-
Find the library and click Install.
Hands-On Code Examples: From “Hello World” to Images
Let’s write some code. These are simplified, robust examples based on my project files.
Example 1: Displaying Text (Your “Hello World”)
This code centers three lines of text on the screen. It’s the foundation for most info-display projects.
#include "epd2in9b.h"
#include "epdpaint.h"
Epd epd;
unsigned char image[1024];
Paint paint(image, 128, 296);
void setup() {
Serial.begin(115200);
if (epd.Init() != 0) {
Serial.println("Display init failed!");
return;
}
epd.ClearFrame();
paint.SetRotate(ROTATE_90);
paint.Clear(COLORED);
paint.SetWidth(30);
paint.DrawStringAt(10, 20, "Hello from", &Font16, UNCOLORED);
paint.DrawStringAt(10, 50, "E-Paper!", &Font20, COLORED);
paint.DrawStringAt(10, 90, "Low-Power Magic", &Font12, UNCOLORED);
epd.DisplayFrame();
epd.Sleep();
}
void loop() {
}
Key Customizations You Can Make:
-
Change Font: Replace &Font16 with &Font12, &Font20, or &Font24.
-
Change Color: Use COLORED (black) or UNCOLORED (white). For red on some displays, you may need a specific function.
-
Change Text: Simply modify the strings inside DrawStringAt().
Example 2: Displaying a Custom Bitmap Image
Want to show a logo or icon? You need to convert your image to a C-style array.
-
Prepare Your Image: Resize it to match your display resolution (e.g., 128×296). Convert it to black and white, 1-bit monochrome.
-
Convert to Code: Use an online tool like LCD Image Converter or the Image2Code software to generate the byte array.
-
Use This Code Template:
#include "epd2in9b.h"
Epd epd;
const unsigned char my_logo[] = { };
void setup() {
epd.Init();
epd.ClearFrame();
epd.DisplayPartial(my_logo, 0, 0, 128, 296);
epd.Sleep();
}
void loop() {}
Final Recommendations & Next Project Ideas
You now have the core knowledge to start. E-paper truly shines in low-power, set-and-forget applications. After mastering the basics, consider these rewarding projects:
-
Wireless Weather Station: Use a WiFi-enabled board (like ESP8266/ESP32) with an e-paper display to show weather forecasts, updating only once per hour.
-
Smart Grocery List / Kitchen Dashboard: Build a todo list that syncs with your phone and stays visible on the counter without constant power.
-
Battery-Powered Plant Monitor: Create a sensor that displays soil moisture and temperature, running for months on a single battery.
My Final Tip: Always call display.sleep() or epd.Sleep() after updating the screen. This is critical for power saving and protects the display’s longevity.
The world of low-power, always-on displays is incredibly exciting. Start with a simple 2.9-inch display from my recommended sources, run the text example, and experience the unique “aha!” moment when your message stays on screen even after you unplug the power. That’s the magic of e-paper.
Ready to start? Browse the recommended displays on esp32s.com and order your kit today. Happy making!
Contact Us
